Beginner tutorial · 10 minute read
Beginner tutorial: your first garden mosaic stake
This project starts with a blank Yard Mosaic backer and ends with your own glass or tile design. The sequence below is a planning guide, not a substitute for the current instructions supplied by your adhesive, grout, glass or tile, tools, and protective equipment.
Written by Yard Mosaic. Product guidance reviewed by Yard Mosaic. Published July 13, 2026 · Updated July 31, 2026.
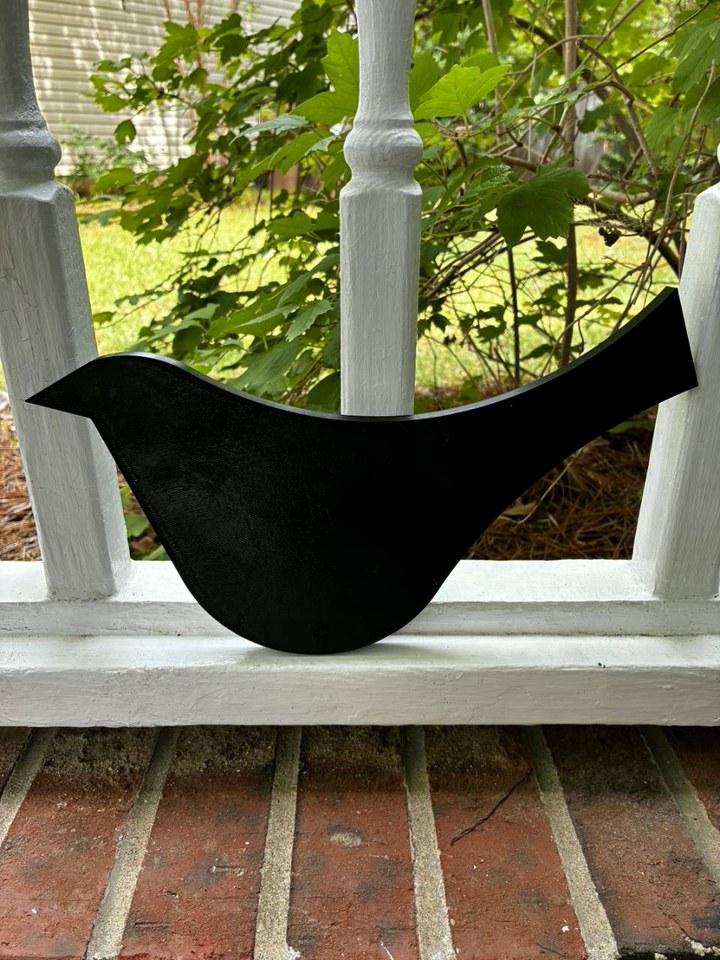
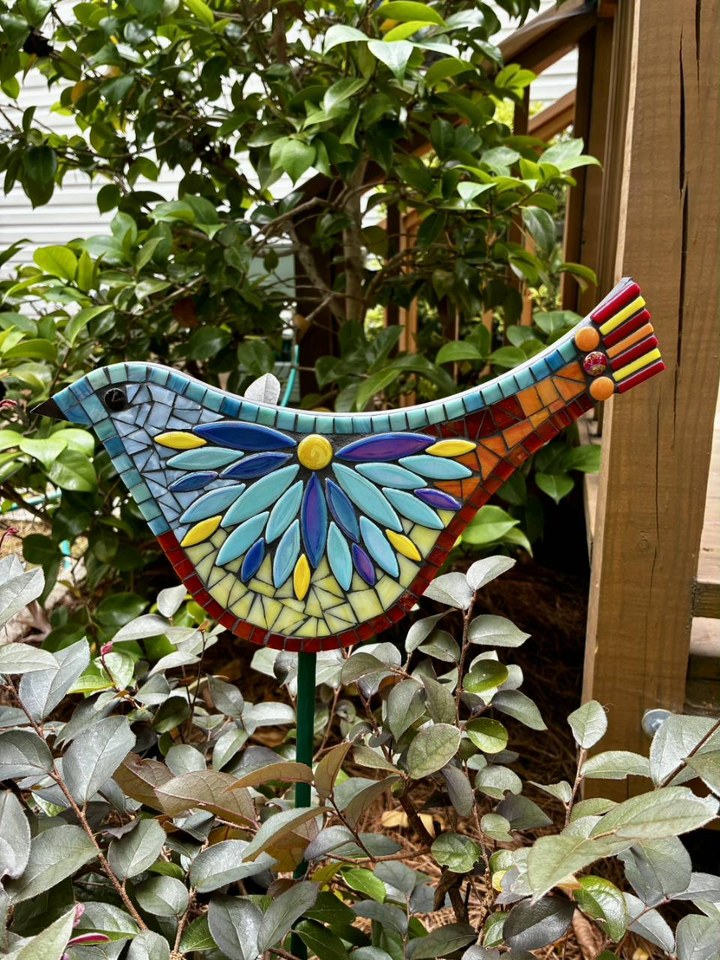
1. Gather a compatible system
- One blank Yard Mosaic backer and a compatible tested garden stake or optional Yard Mosaic stake.
- Glass or tile sized for the curves, edges, and thickness of your chosen shape.
- An adhesive whose current instructions list your glass or tile, outdoor exposure, and ASA or the preparation method you have verified with the manufacturer.
- Exterior grout only if it belongs in your tested system, plus any manufacturer-specified sealer.
- Layout tools and the gloves, eye protection, ventilation, respiratory protection, and cleanup supplies required by every label and safety data sheet.
2. Plan and dry-fit the design
Arrange the pieces without adhesive first. Leave room for intentional grout joints, keep sharp edges within the backer outline, and avoid loading thin projections with unusually heavy pieces.
Keep adhesive, grout, and debris out of the stake socket. Photograph the dry layout if you want a reference while you bond each section.
3. Prepare the bonding surface
Clean and dry the backer using a method compatible with the exact adhesive. If its instructions permit mechanical preparation, lightly scuff the bonding area and remove all dust before bonding.
Make a small sample with the exact materials and let it reach full cure. Check it after representative water and temperature exposure before relying on the system for a larger finished piece.
4. Bond the mosaic and wait for full cure
Mix, dispense, spread, or tool the adhesive exactly as its manufacturer directs. Work within its stated open time and use the required PPE and ventilation. Do not guess at ratios or combine chemistries.
Support the project flat and undisturbed for the entire cure period. Do not treat surface dryness as full cure, and do not grout early. Temperature, humidity, bead depth, and batch size can affect timing.
5. Grout only after the adhesive system is ready
If your tested system uses grout, follow its current exterior-substrate, joint-depth, water-ratio, working-time, cleaning, and cure instructions. Protect the stake socket and avoid washing excess water into the assembly.
Use only the cleanup tools and timing the grout maker recommends. Let the finished assembly reach full cure before lifting, mounting, sealing, or exposing it to weather.
6. Install, inspect, and store
Set a compatible stake about 4 inches into firm soil without hammering printed parts, then slide on the fully cured piece. Start low and sheltered; inspect the fit and finished surface after weather changes.
Remove the art for strong winds, winter storage, transport, or maintenance. Ongoing outdoor exposure testing does not eliminate the need to watch your particular combination of materials and site conditions.
Choose your next step
- Start with the Songbird backer — See the actual blank shape shown in this tutorial and choose a color.
- Browse all blank backers — Compare the available shapes for your first design.
- Choose optional stake hardware — Review lengths, visible heights, and what each hardware option includes.